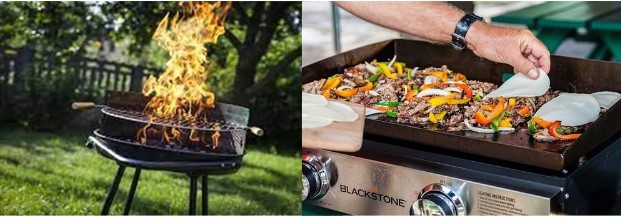
How To Season An Outdoor Griddle: A Step-by-Step Guide
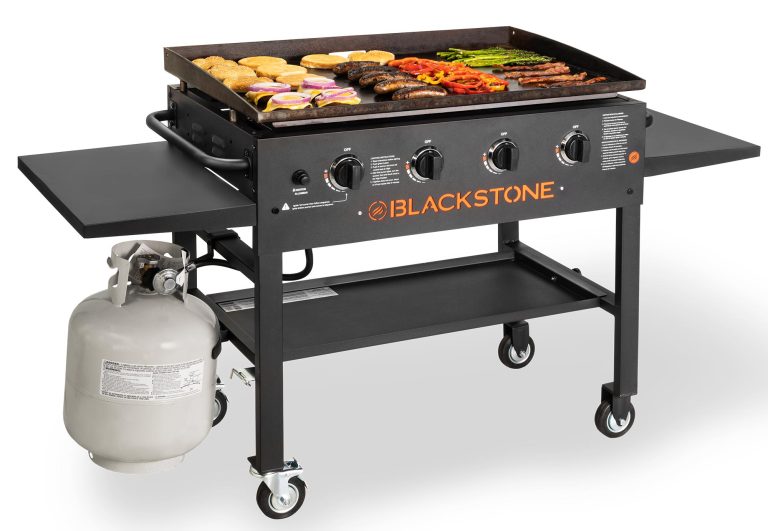
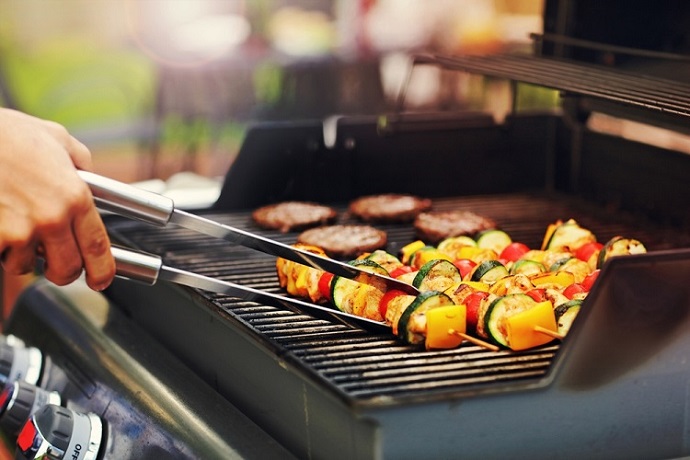
Outdoor griddles are a fantastic way to elevate your cooking experience, offering versatility and the ability to cook multiple ingredients simultaneously. However, to get the best performance and longevity from your griddle, it’s crucial to season it properly. Seasoning an outdoor griddle not only protects it from rust but also creates a natural, non-stick surface that enhances the flavor of your food. Whether you’ve just bought a new griddle or want to re-season an old one, this guide will walk you through the process step by step.
Why Seasoning Your Griddle is Essential
Before we dive into the how-to, let’s explore why seasoning your outdoor griddle is so important.
1. Prevents Rust
Outdoor griddles are typically made of steel or cast iron, both of which are prone to rust if not properly maintained. A layer of seasoning forms a barrier that protects the metal from moisture, significantly reducing the chance of rust.
2. Creates a Non-Stick Surface
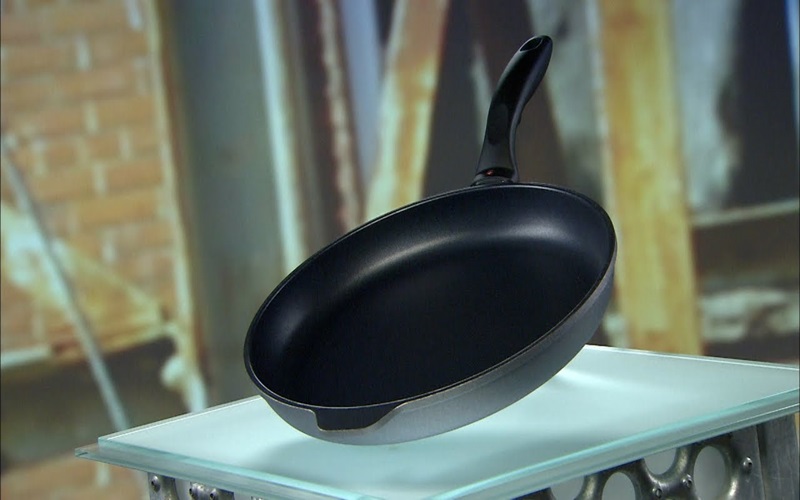
Just like cast iron cookware, an outdoor griddle develops a non-stick surface over time with proper seasoning. This makes cooking and cleaning easier while also allowing you to cook delicate items like eggs, pancakes, or fish without worrying about them sticking.
3. Enhances the Flavor

Seasoning helps enhance the natural flavors of your food. Each time you cook, the seasoning deepens, and this layer of flavor builds, contributing to that irresistible taste that seasoned cookware is famous for.
What You Need to Season an Outdoor Griddle
Before you begin the seasoning process, make sure you have the following materials on hand:
- Oil: Choose a high-smoke point oil for the best results. Flaxseed oil, grapeseed oil, vegetable oil, or canola oil are all excellent choices.
- Paper Towels or a Cloth: These are essential for spreading the oil evenly across the surface.
- Tongs or Heat-Resistant Gloves: You’ll need something to hold the paper towels safely while the griddle heats up.
- Scraper or Griddle Spatula: If your griddle is new or hasn’t been used in a while, you may need a scraper to clean the surface before seasoning.
- Water: Clean the griddle before seasoning, particularly if there’s any residue.
Step-by-Step Guide to Seasoning Your Outdoor Griddle
Now that you have all your materials ready, let’s start the seasoning process.
Step 1: Pre-Clean Your Griddle
Before you season your griddle, it’s essential to ensure the surface is clean. If it’s brand new, you may notice a protective coating from the manufacturer. Here’s how to clean it:
- Heat the Griddle: Turn on your outdoor griddle and set it to high heat. Let it heat up for about 10-15 minutes. This helps loosen any debris or coating that may be present.
- Scrape Off Residue: Using your scraper or griddle spatula, scrape the entire surface to remove any leftover residue.
- Wipe with Water: After scraping, take a cloth or paper towel soaked in water and wipe down the griddle. If you prefer, you can use mild soap for this first cleaning, but make sure to rinse thoroughly since soap can affect the seasoning process.
- Dry Completely: After cleaning, make sure the surface is thoroughly dry to prevent rust from forming.
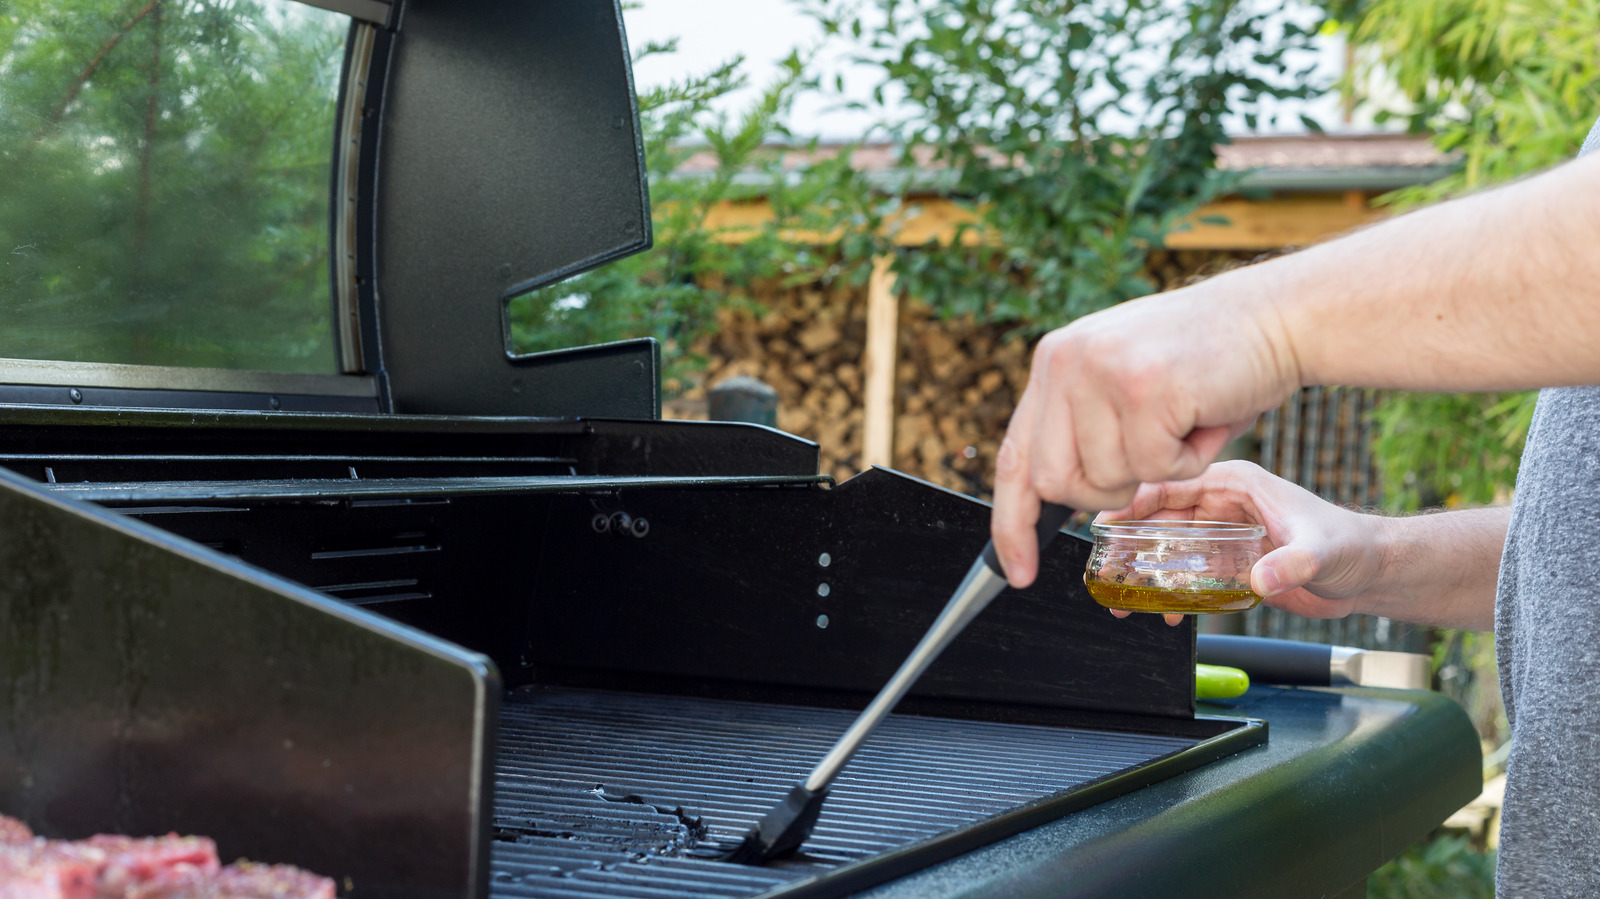
Step 2: Apply a Thin Layer of Oil
Now that your griddle is clean and dry, it’s time to apply oil, which will form the first layer of seasoning.
- Heat the Griddle Again: Turn your griddle on and allow it to heat up to high temperature, around 400°F to 450°F (200°C to 230°C). This ensures the oil bonds well with the metal.
- Add Oil: Pour a small amount of oil (about a tablespoon) onto the center of the griddle.
- Spread the Oil: Using paper towels or a cloth held by tongs or heat-resistant gloves, spread the oil across the entire cooking surface, including the sides and edges. Be sure to cover every inch evenly.
- Thin is Key: You want a thin layer of oil—too much oil can result in uneven seasoning or sticky patches. It’s better to apply multiple thin layers rather than a thick one.
Step 3: Let the Oil Smoke
After applying the oil, you’ll notice that it starts to smoke. This is known as the “smoke point,” and it’s a critical part of the seasoning process.
- Let it Smoke: Once the oil starts smoking, let the griddle continue to heat. This allows the oil to polymerize, forming a hard, protective layer on the surface. This step can take around 20-30 minutes, depending on your griddle.
- Wait Until the Smoke Clears: Keep the griddle on until the smoking stops and the oil has baked into the surface. At this point, the griddle will have developed a dark, shiny coating.
- Cool Down: Turn off the griddle and allow it to cool slightly before repeating the process.
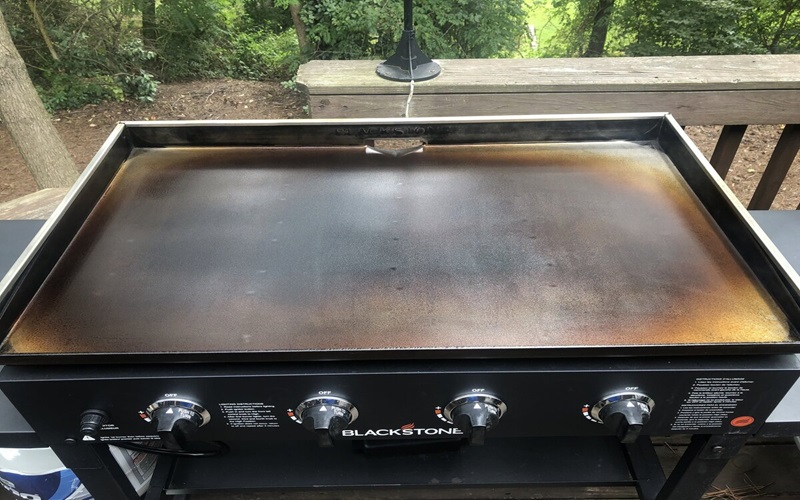
Step 4: Repeat the Process
To build a durable seasoning layer, you’ll need to repeat the oiling and smoking process at least two to three more times. Each additional layer will deepen the color of your griddle, eventually turning it a shiny black, which is a sign of well-seasoned cookware.
Here’s how to repeat:
- Apply Another Thin Layer of Oil: After the griddle has cooled a bit, add another tablespoon of oil and spread it thinly across the surface.
- Heat Until Smoking: Turn the griddle back on, heat until the oil starts smoking, and let it continue to smoke until the griddle surface becomes darker.
- Cool and Repeat: Allow the griddle to cool and repeat the process one more time, ensuring the surface is fully seasoned.
Step 5: Maintain Your Seasoning
Once your griddle is seasoned, regular maintenance will keep it in prime condition. Here are a few tips to maintain your griddle’s seasoning:
- After Each Use: Clean your griddle by scraping off food debris and wiping it down with water (avoid soap).
- Reapply Oil: After cleaning, apply a small amount of oil to the surface to maintain the non-stick layer. This will also prevent rust from forming.
- Store Properly: If you’re not using your griddle regularly, store it in a dry place or use a cover to protect it from the elements.
Common Mistakes to Avoid
Seasoning an outdoor griddle is relatively simple, but there are a few common mistakes that can hinder the process.
1. Using Too Much Oil
Using too much oil can create a sticky, uneven surface. Always remember that less is more when it comes to seasoning. It’s better to apply several thin layers than one thick layer.
2. Not Letting the Griddle Heat Enough
If you don’t let the griddle heat up properly during the seasoning process, the oil won’t bond with the surface. Be patient and allow the oil to reach its smoke point.
3. Using the Wrong Oil
Always choose oils with a high smoke point. Oils like olive oil have a low smoke point and can burn, leaving a bitter taste and uneven coating.
4. Skipping Maintenance
Once your griddle is seasoned, regular maintenance is key to keeping it in top condition. Neglecting to oil the surface after each use can result in rust or a loss of non-stick properties.
Conclusion
Seasoning your outdoor griddle is an essential step to ensure it remains rust-free, non-stick, and capable of delivering delicious meals for years to come. With proper care and regular maintenance, your griddle will become a key tool in your outdoor cooking arsenal. Follow the steps above to season your griddle correctly, and enjoy the benefits of perfect cooking surfaces and enhanced flavors every time you cook outdoors.
By investing a little time upfront to season your outdoor griddle, you’ll maximize its longevity and cooking potential, creating delicious meals and unforgettable culinary experiences.

James Carter is the founder of BestOutdoorGriddle.com, a website dedicated to helping outdoor cooking enthusiasts find the best griddles for their BBQ and camping needs. Based in Dallas, Texas, James combines his passion for outdoor cooking with his expertise in product research to provide comprehensive reviews and guides. With a keen eye for quality and functionality, James strives to help fellow grill masters make informed decisions when selecting outdoor griddles. Through his website, he aims to enhance the outdoor cooking experience for barbecue lovers and campers alike.